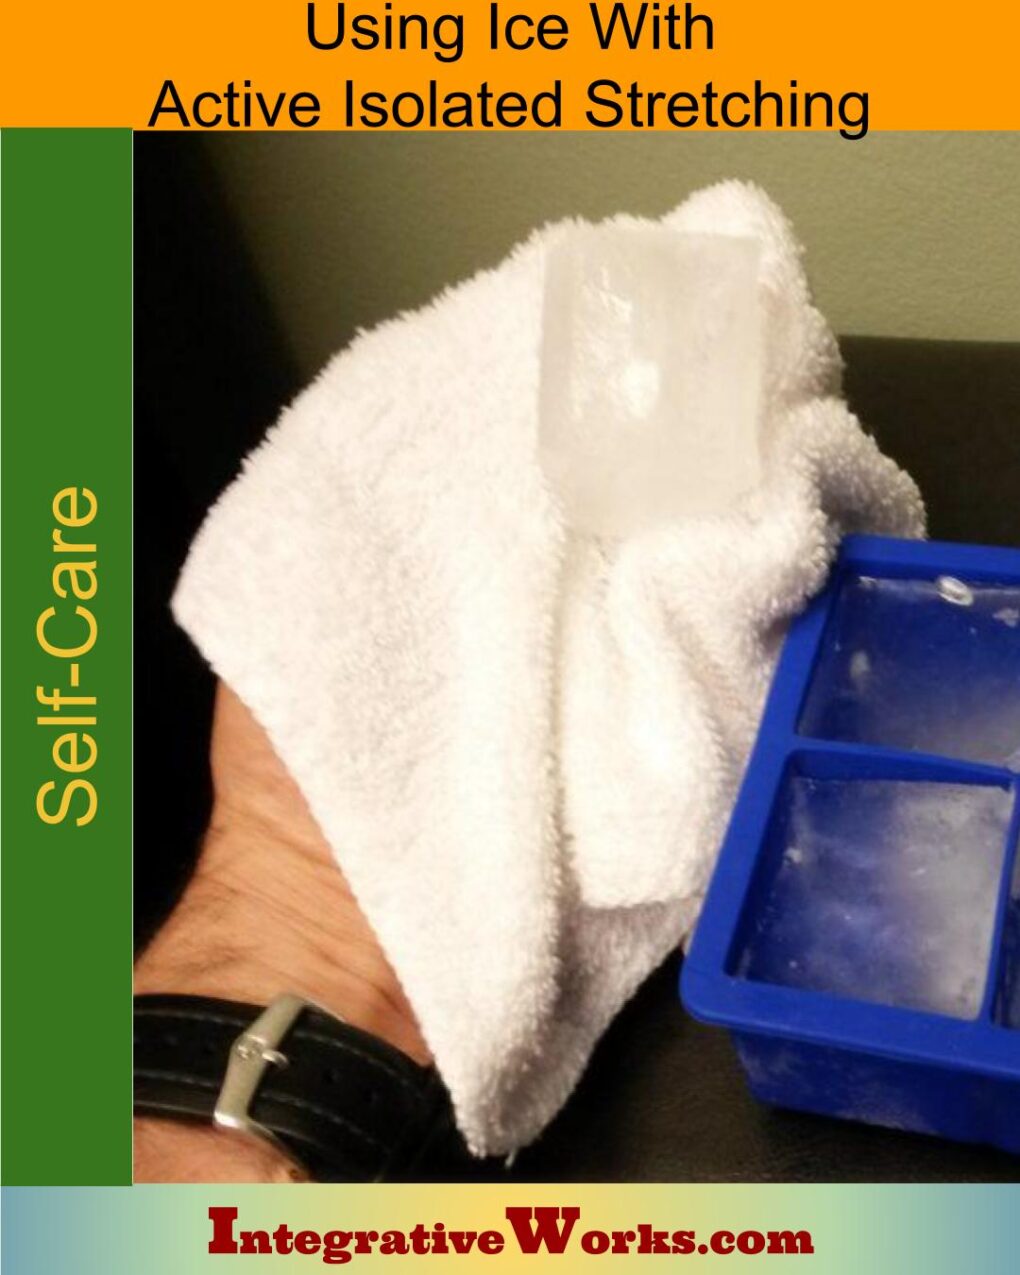
Ice for Better Results
This stretch routine is more effective and requires fewer repetitions when using the ice-and-stretch method.
I’ve done this routine with many clients, first, without ice. Then, I repeat the stretch with ice-and-stretch. They all remark that it is amazingly more effective with this method.
This simple set of stretches has 3 parts:
- Two stretches that release the muscles around the base of the cranium that tilts the head back
- Two stretches that release the muscles on the side of the neck that pull the base of the head toward the collarbone
- Two stretches release the anterior scalenes, allowing the base of the neck to extend so the head can move back
Part 1: Release the Top of the Neck
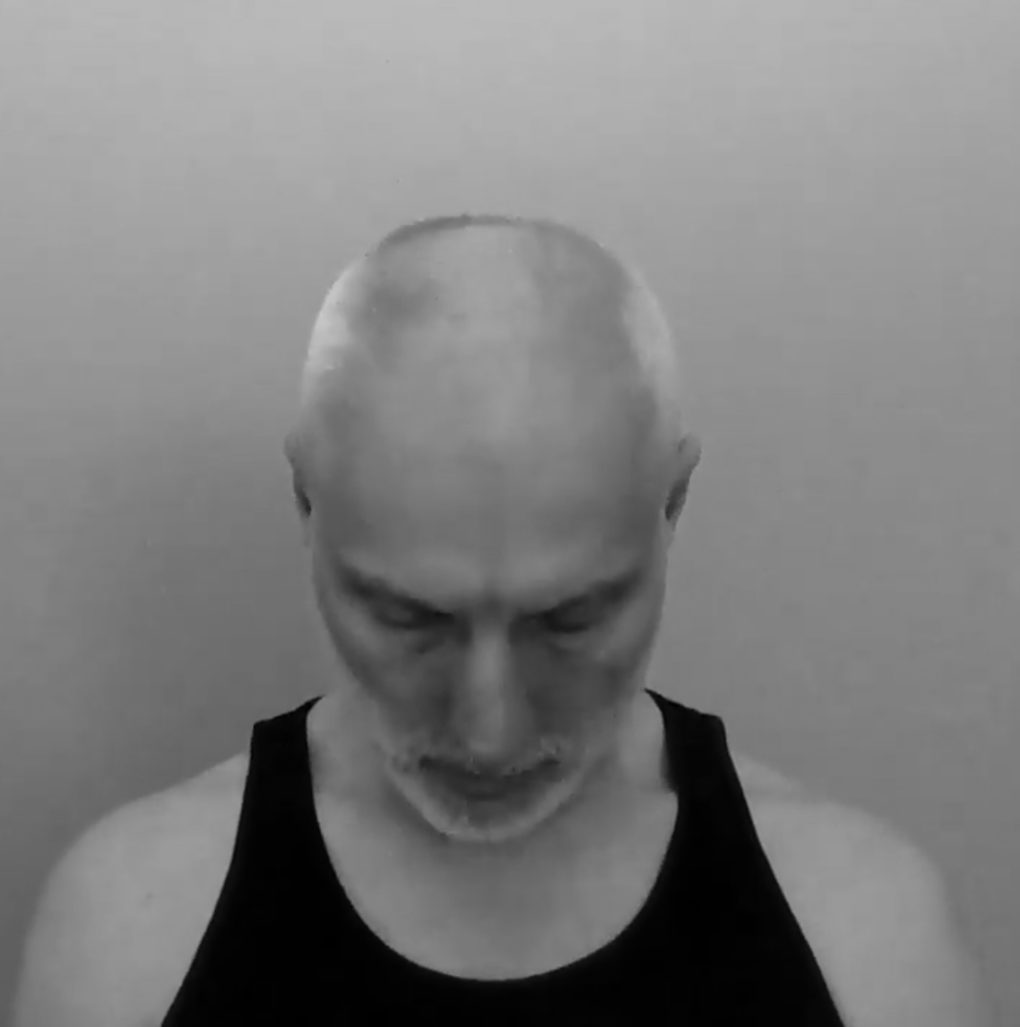
- Ice along the top of the neck and base of the head in the back
- Tuck your chin so that the stretch is focused on the top of the neck and not flexed at the base of the neck. Think about trying to move your head back as you tuck your chin.
- Return to the upright position.
- Tuck and return 4 more times.
I’ve worked with neck specialists for over 20 years. I’ve seen hundreds of cases where balancing the upper neck immediately changes the lower neck without ever working on the lower neck directly. Don’t underestimate the importance of these first 2 steps.
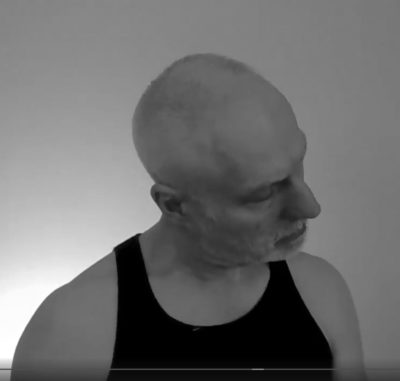
- Ice along the base of the head and upper neck from behind the ear around to the center of the neck.
- Turn your head about halfway toward the side you iced.
- Lift your head away from your shoulders while tilting it directly forward
- Return to the upright position
- Lift, tilt, and return 4 more times.
Play with the position of this stretch so that you can target the area of the neck behind the ear.
Do the other side.
Part 2: Release the Sides
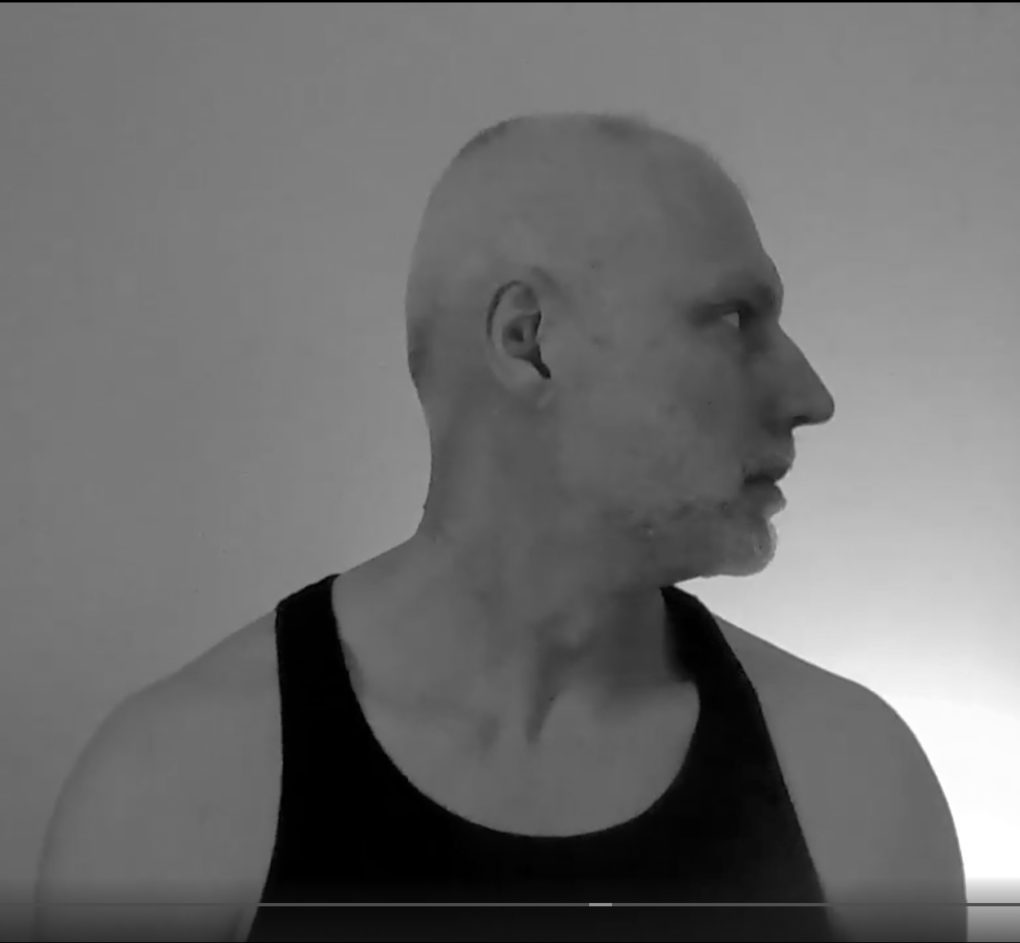
- Ice along the thick muscle that runs from behind your ear down to the collarbone close to the middle of your neck
- Turn your head slowly toward the side that you have iced. Focus on looking at the wall at the level of your eyes to keep your head level. Without a focal point, most people tilt their heads as they turn.
- Return to looking straight ahead
- Turn and return 4 more times
Both sides seldom turn the same amount. Just turn toward each side to the point of light tension.
Do the other side.
Part 3: Release the scalenes at the base of your neck
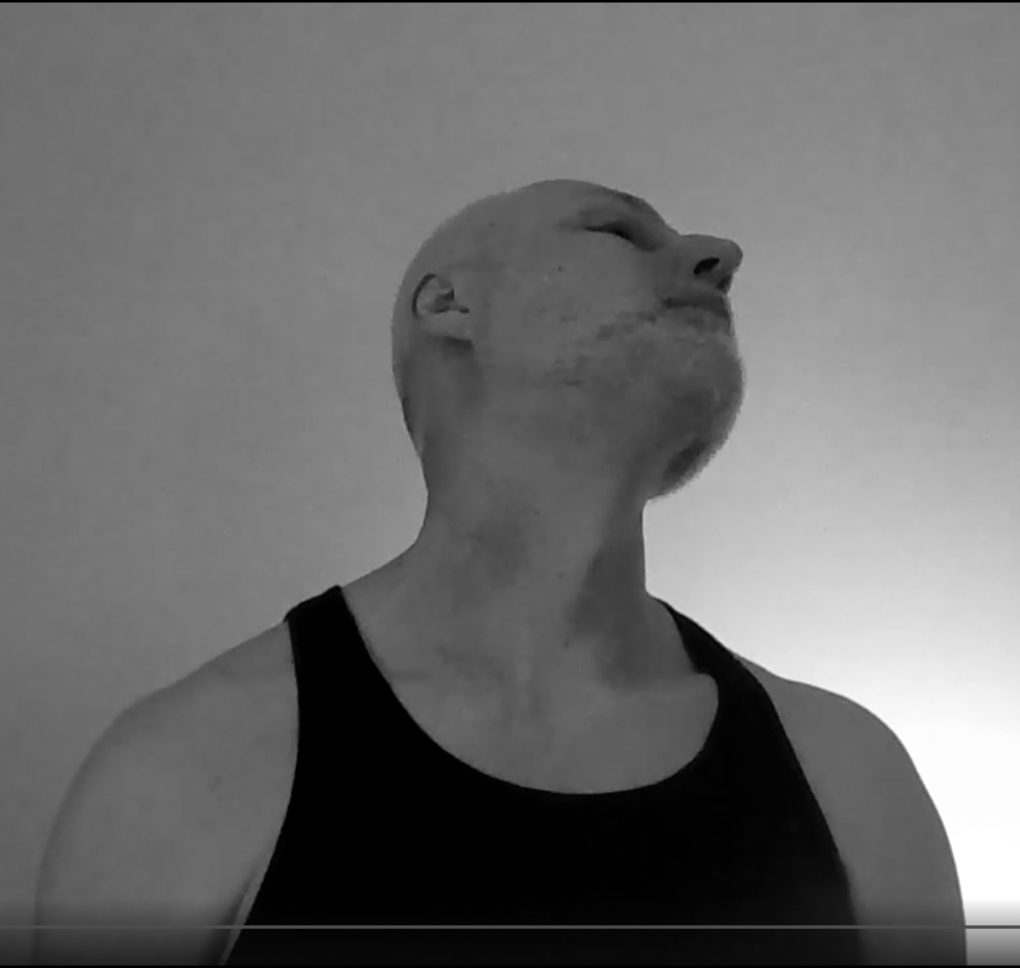
- Ice the base of your neck from the collar bone to the corner of your jaw.
- Turn your head about halfway toward one side.
- Lift the corner of your jaw toward the ceiling. Try to avoid tilting back. Play with the angle until you feel the pull through the front of your neck just above the collarbone.
- Return to the upright position.
- Tilt and return 4 more times.
Do the other side.
If your balance is stable, this also works well under the hot spray of the shower.
Support Integrative Works to
stay independent
and produce great content.
You can subscribe to our community on Patreon. You will get links to free content and access to exclusive content not seen on this site. In addition, we will be posting anatomy illustrations, treatment notes, and sections from our manuals not found on this site. Thank you so much for being so supportive.
Cranio Cradle Cup
This mug has classic, colorful illustrations of the craniosacral system and vault hold #3. It makes a great gift and conversation piece.
Tony Preston has a practice in Atlanta, Georgia, where he sees clients. He has written materials and instructed classes since the mid-90s. This includes anatomy, trigger points, cranial, and neuromuscular.
Question? Comment? Typo?
integrativeworks@gmail.com
Interested in a session with Tony?
Call 404-226-1363
Follow us on Instagram

*This site is undergoing significant changes. We are reformatting and expanding the posts to make them easier to read. The result will also be more accessible and include more patterns with better self-care. Meanwhile, there may be formatting, content presentation, and readability inconsistencies. Until we get older posts updated, please excuse our mess.

